Tuesday, June 19, 2012

Vanilla Brown Butter Cherry Tarts - for Father's Day


Summer is here and with it comes many opportunities to explore and indulge in activities that you find impossible to do other times throughout the year. On our first day of summer, I decided to take my step-daughter strawberry and cherry picking – something neither of us had done before. We went in the morning on an overcast day to explore a local orchard.
The orchard was absolutely lovely, even with impending rain. We explored endless rows of green trees dotted with deep red cherries. We carefully plucked the trees until we had about 3 lbs. We then traveled to a large, wide, open field filled with rows of strawberry bushes. Finding the strawberries was like searching for treasure because the strawberries were not as visible, hidden by their leafy green stems. We picked about 4 lbs. of strawberries and made our way home.


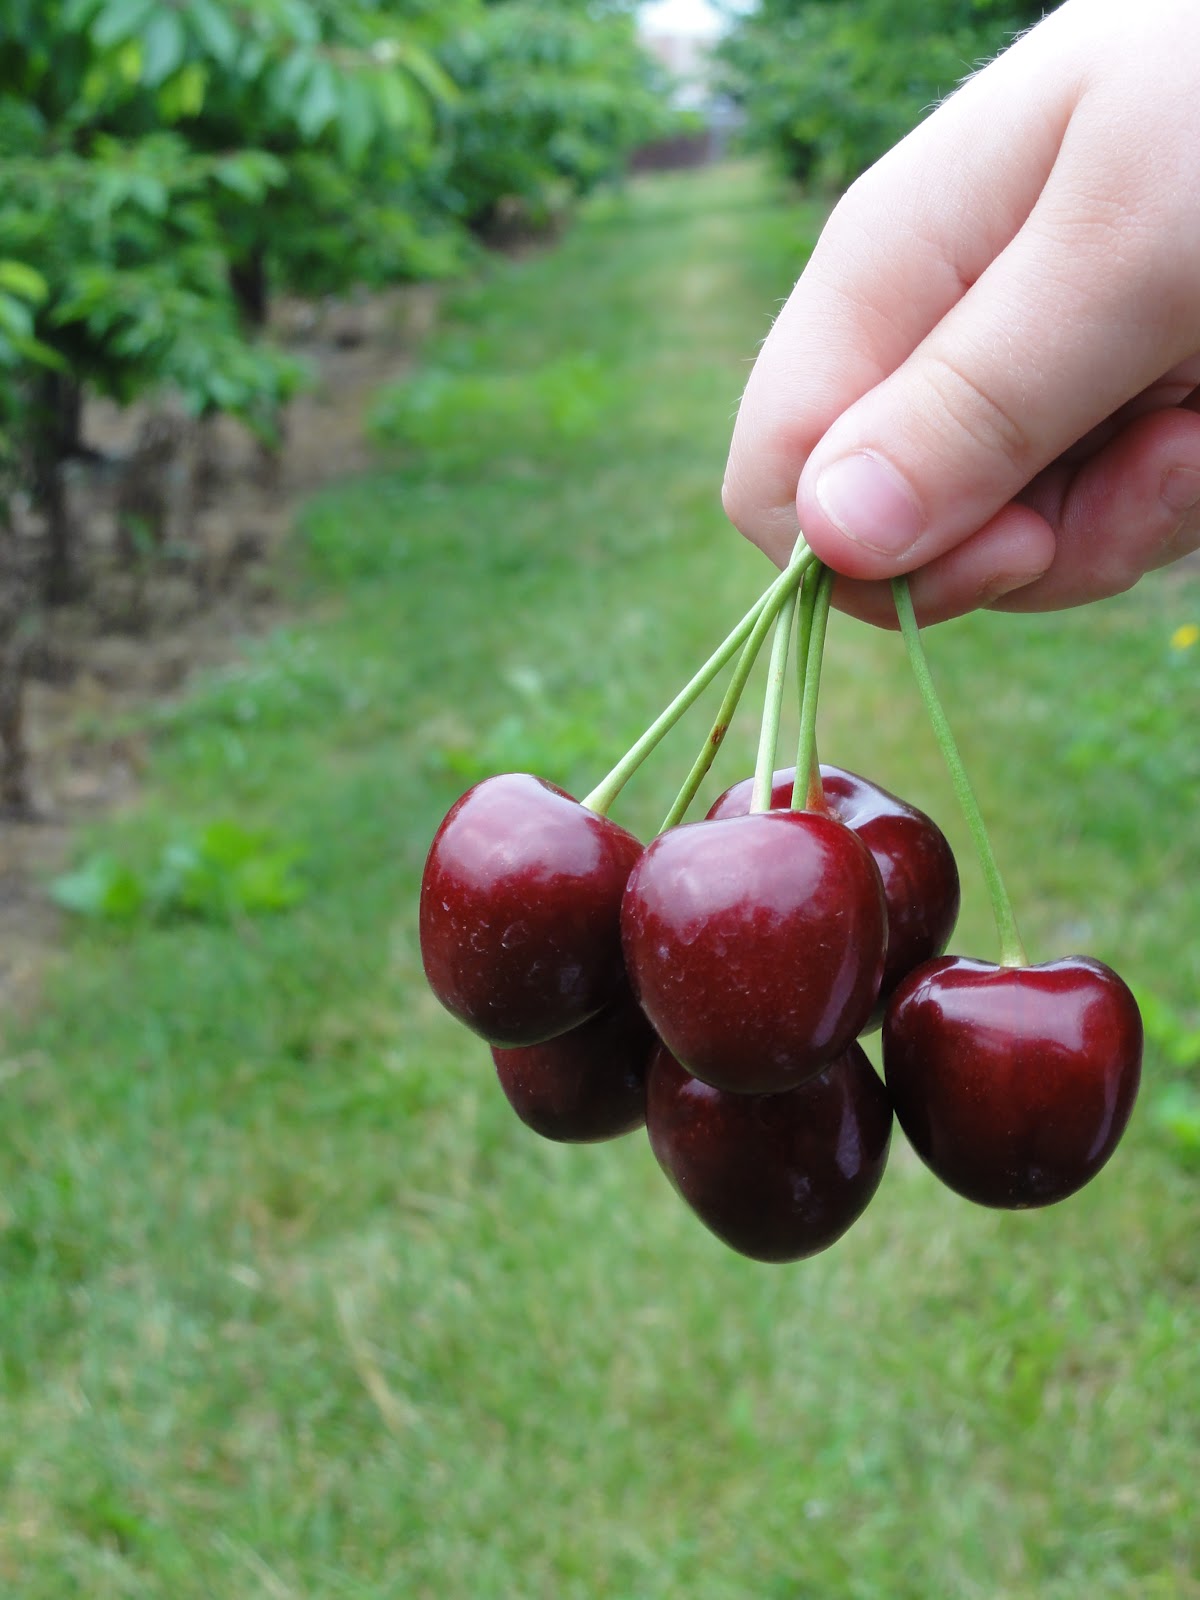
Finding something to do with the strawberries was easy. We made angel food cake and had strawberry shortcake for dessert. We also made strawberry freezer jam, something little hands were happy to help with. Of course simply popping the strawberries into our mouths for a snack was also more than sufficient.


However, the cherries were a little more challenging. Our family enjoys eating cherries untainted, but I wanted to try baking something with them. So, I went to our local library and searched their selection of cookbooks until I found a tempting recipe to try.
I stumbled across a book entitled Best of the Best. This book was created by the editors of Food and Wine Magazine. The editors cooked recipes from 25 top cookbooks and then picked their favorites to publish in this book. I found a recipe from Judith Sutton’s book, Sweet Gratitude for Brown Butter Cherry Tart – seriously, brown butter? How could this not be delicious? I checked the book out and took it home.


With Father’s Day around the corner, I thought this tart recipe would be the perfect dessert for the Father’s Day Dinner we were hosting. The only unusual ingredient that the recipe called for was vanilla bean. Luckily, there is a lady at our local Farmer’s Market that has vanilla beans readily available so I able to locate and purchase them easily.  (I was super excited! I have wanted to try to cook with real vanilla beans for a while now and this recipe was the perfect excuse!)


The tart’s ingredients and instructions are very simple. It amazes me how sometimes the simplest of ingredients can combine effortlessly into a delicious dish. The pastry was made easily in a food processor and was moist and easy to work with. Not only did browning the butter for the filling add a rich, nutty flavor to it, cooking the vanilla bean and its seeds in the butter as it browned infused it with a velvety vanilla flavor. The cherries we picked from the orchard were a little on the softer side, which added a juicy sweetness to the cherries as they cooked. The result of this recipe was a tart that had a delicious crust with a subtle crisp, filled with juicy cherries covered in a sweet (but not overly sweet) filling that carmelized just slightly in the oven. I would definitely make it again and would really like to try out more of Judy Sutton’s recipes.


This recipe called for a 9 inch tart pan. I did not have a large tart pan, but I did have small, 4 inch tart pans that I used instead. If you choose to make individual tarts instead of 1 large tart, I would recommend cutting the filling recipe in half. I had a lot of the vanilla brown butter and cherries left over. I look forward to trying out this recipe again using other fruits, such as blueberries and peaches.


So, when it comes to recipe organization, I am a bit of a nut. I am very picky about how recipes are written and designed. My background is in art and I often find that I am disappointed by recipe layouts in cook books – words are too small, recipes are too wordy, font choice is rather hum-drum, and they often lack color. Due to this, I design my recipes following a prescribed format that I created on Microsoft Word. However, for this blog, I decided I wanted to try to create recipe cards to easily share recipes. These cards have been scaled to 5” X 7”. I know most recipe cards are 4” X 6”, but I needed something a little larger. These cards can be printed out easily on card stock and can be stored in an index card box or even a 5” X 7” photo album. If needed you could shrink the jPEG to 4” X 6”.


I hope you enjoyed this posting and the recipe card. Cheers to cherries and happy baking!


Tuesday, March 6, 2012

Our DIY Love Bird Wedding

Hi Everyone!
Thanks for visiting my blog. For my first entry, I decided I would share my DIY and Crafting adventure in planning our wedding. My husband proposed to me in November of 2009 and we were married in July of 2010. Our wedding was the ultimate in DIY. I designed and created the invitations, decorations, centerpieces, jewelry, even our cupcakes. By doing a great deal of the work myself I ended up saving a lot of money. The hand-made personal touches also made our wedding that much more memorable.  I had a blast creating designing everything and I hope you enjoy the pictures and descriptions below.
Invitations
Our theme for our wedding was “Love Birds.” Our colors were light green, light aqua and dark turquoise. For our invitations we decided on pocket style invitations. I bought the stationary from www.envelopperinc.com and then embellished it with my own designs. I sketched our Love Bird motif and scanned it into my computer. I then used PhotoShop to design the cover, invitation, RSVP card, registry card, and direction card. I printed everything on satin paper and matted it on a variety of scrapbooking papers. I also lined the envelopes with scrapbooking paper. We also made our Thank You cards. Our photographer took a picture of us holding a hand painted “Thank You” sign, which we then integrated into our Thank You cards.


Centerpieces

In keeping with our Love Bird theme, my husband, myself, and a few very helpful friends folded 1,000 cranes so that we could make a wish on our wedding day. We incorporated the cranes in a variety of ways. For our centerpieces, we attached individual cranes to floral wire. The cranes were then pressed into floral foam inside a painted flower pot. A painted bird house with a drilled dowel rod was placed in the middle of the cranes.


Place Cards and Favors
In planning favors, I wanted to say, “thank you” to our guests with something that was eco-friendly and also useful. For our favors we gave out gladiola flower bulbs, flower seed, and (of course), bird seed. The flower seed and bird seed were placed in match boxes wrapped in scrapbooking paper, a gift from a dear friend of mine, and DIY partner in crime. (Thank you for making the boxes Steph!!!) The gladiola bulbs were wrapped in tulle and ribbon. Everything was placed in a coconut husk biodegradable flower pot. The flower pot then had a crane with the guests’ name and place card attached. We also put a little sign that read, “Let Love Blossom” in the coconut husk pot.


Guestbook
Instead of having a separate, traditional guestbook, I wanted to create something fun and interactive. I saw an idea from Martha Stewart with “Fill in the Blank” stem sentences. I placed a variety of stem sentences printed on different colors of cardstock out on a table for guests to sign during cocktail hour. (Another big “thank you” to Steph for printing and cutting these out!!!)  The slips of paper had a variety of stem sentences and “wish” sentences for the guests to sign their messages on. A flower pot bird bath was used to place finished cards. The responses were varied from sweet and sentimental to totally silly and hilarious. I plan on incorporating these responses into our wedding scrapbook.

Crane Chains & Decorations

 
We were married in a re-furbished barn that had a whole wall of beautiful, long windows. We filled the windows with chains of cranes that were strung on ribbon. We were not allowed to tape, tack, or stick anything to the walls. To avoid this, we purchased tension curtain rods that held up the cranes without damaging the walls or windows.  They looked gorgeous! (Unfortunately I couldn’t find any pictures of them! You can see them in the background of the picture with the table.) I also painted a canvas that guests saw upon entering the barn. In addition, I created a Welcome sign with ribbon and scrapbook paper. Tulle and old curtains were cut and wrapped around the chairs to jazz them up a bit. Cranes were also wrapped and hung around the tops of the chairs. Two bud vases with gerber daisies and blue marbles were placed next to the center pieces.


Headpiece and Jewelry


My wedding style was a little. . .  different. First of all, I bought a simple, strapless gown that I then had cut at the knees to transform it into a short dress. (Best idea ever!!!) I didn’t consider myself a traditional bride and I just couldn’t see myself with a veil, I felt silly wearing one. So, instead I created my own headpiece. I bought a headband and wrapped it in embroidery floss. My bridesmaid, Megan, gave me 2 beautiful, lacey flowers. I sewed them onto the headband and embellished them with pink and cream colored pearls. I also designed my earrings and bracelet with pearls and diamond beads. I chose pearls because the first piece of jewelry my husband gave me was a beautiful pink pearl necklace, which I also wore on our wedding day. I created pearl cluster earrings, necklaces, and bracelets for my bridesmaids as well. Their pearls were light green, turquoise, and aqua.


Cupcakes

I absolutely, positively, love to bake. My husband and I love cupcakes, so I decided to bake our wedding cupcakes. With the help of my loyal friends, Megan and Steph, we had a baking day where we baked standard sized and mini cupcakes. These were also given to guests as favors. We had red velvet cupcakes with cream cheese frosting, and chocolate and vanilla cupcakes with buttercream frosting. Each flavor had its own design, mostly with piped icing and fondant. The cupcakes were accompanied by an ice cream sundae bar. We did create a mini cake so we could have a “cake cutting.” 


Not only did we save a lot of money by doing it ourselves, but we ended up with a totally unique, personalized wedding experience.  The only thing I would NOT recommend doing yourself is the photography. Pay a professional photographer! I am VERY grateful that we hired a photographer, it was a good investment. Many thanks to Dan Moyer of Daniel Moyer Photography. He deserves credit for most of the pictures on this blog entry. (Thanks Dan!)